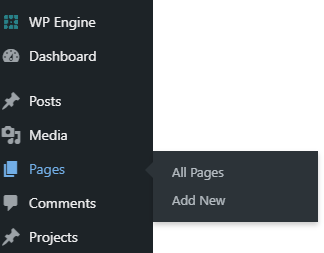
- Login to your website and head to the ‘pages’ tab on the left hand side menu. Clicking on ‘add new’ will bring you to the block editor.
2. From here, add the page title, content, and page settings.
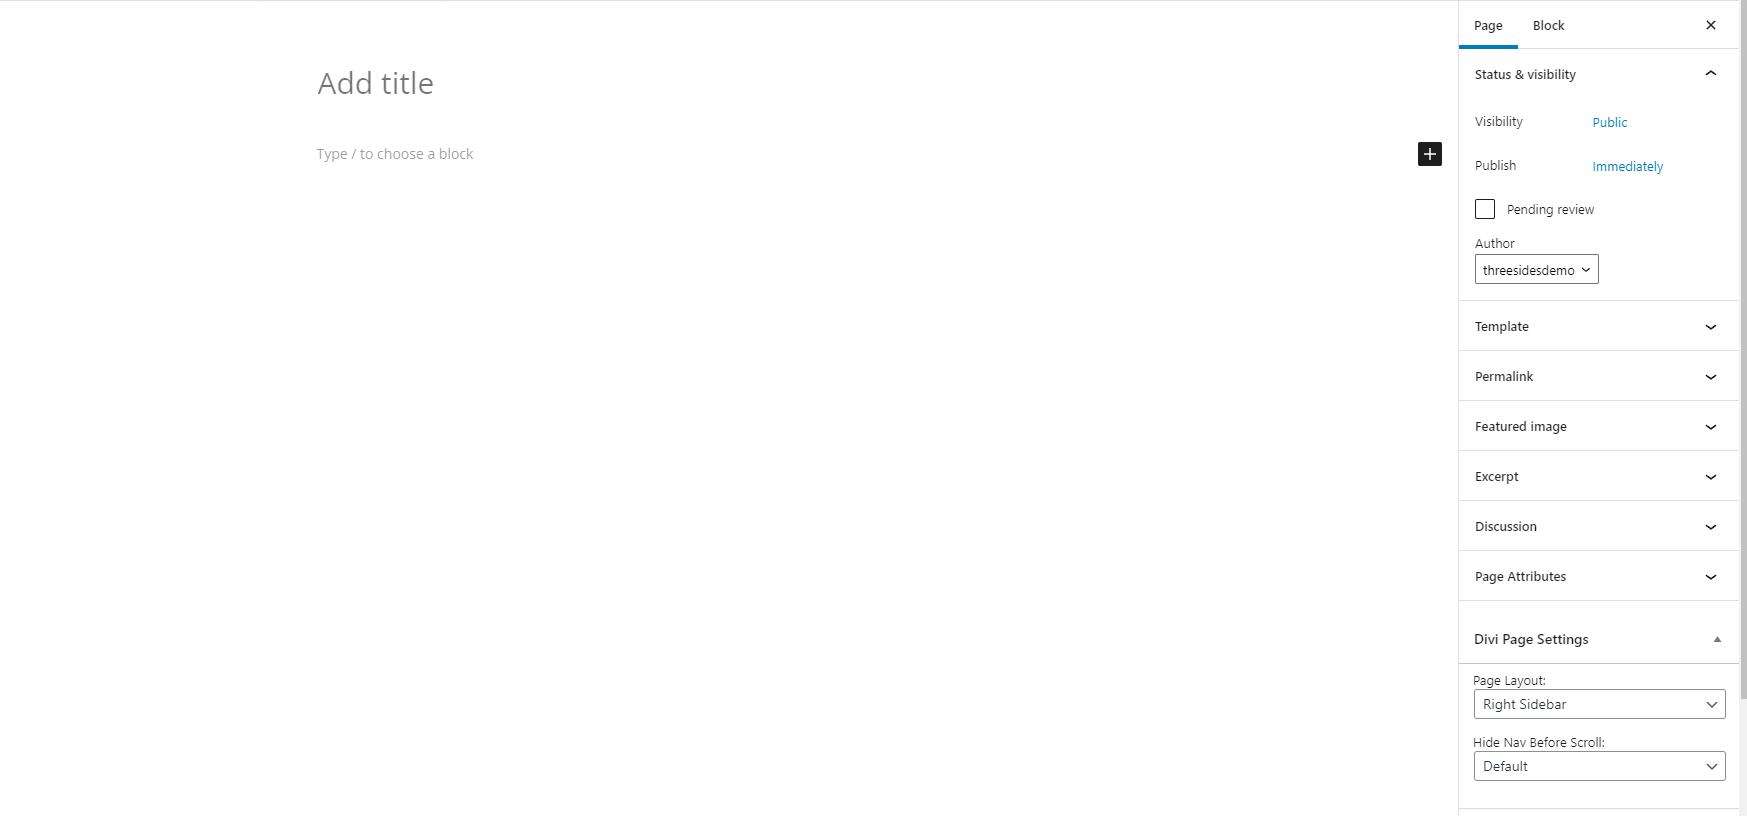
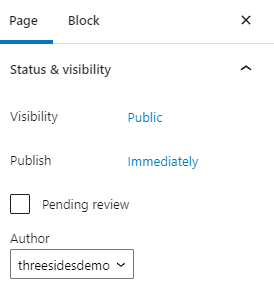
3. Some key settings to adjust before publishing is the ‘status & visibility’ section, which allows you to customise when you want the post to be published and who it’s visible to.
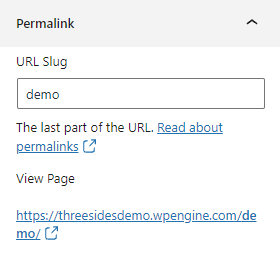
4. Another key feature is the ‘Permalink’ which is where you can adjust the URL slug for your page.
5. Other page settings are optional and customisable to suit the page type.
6. Once page settings have been set up and a title has been assigned, content can be populated.
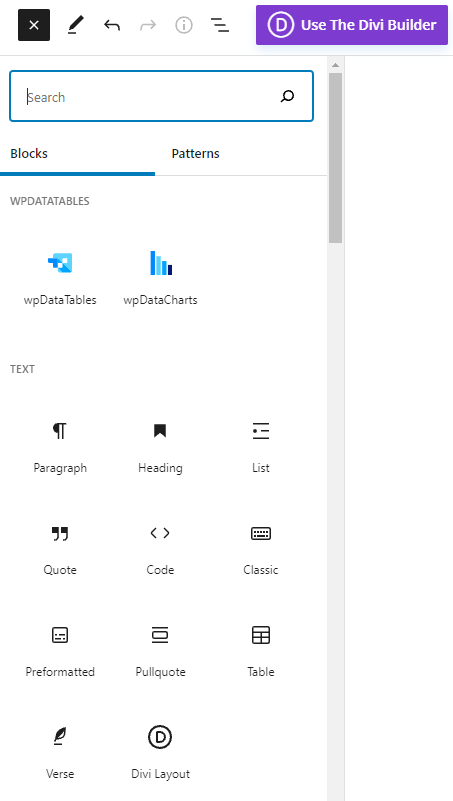
7. Clicking the blue ‘+’ icon will show the block inserter, where a variety of different elements can be added to customise the page. Another way to access this is by typing ‘/’, followed by the widget you’re after. In the same menu as the block inserter toggle, you’re also able to ‘undo’ and ‘redo’ any actions, and see a page summary with the ‘i’ icon.
8. Don’t forget to preview and publish any changes you’ve made before exiting the page.

9. Finally, if you have the ‘Divi’ theme installed, you’ll see the ‘Use The Divi Builder’ button like in the above image. Instructions for creating a page with Divi can be seen here.